Buttermilk Vanilla Cupcakes with Buttercream Frosting
-
Baker: meet your new go-to cupcake recipe.
This is the recipe that you’ll turn to for every single birthday soiree from now until you’re in a nursing home and can no longer bake in an unsupervised fashion- unless you’re looking for a chocolate cupcake or cake, in which case you’ll bake the Old-Fashioned Chocolate Cake every single time- something we agreed upon last month. So when vanilla calls (as it so often does), this is the cake that will knock your socks off.
(My friend Josie happened to take a liking to this cake a few years back. Having just made the cake, I promptly wrote the recipe out for her in an impressive feat of astounding memory. She called to say that it turned out horribly, blaming herself. We compared notes. I colossally f’ed the recipe up that I wrote out for her. So much for my memory- looks like I belong in the old-age home. At least here you can trust that I double-checked the recipe before posting it.)
Just so you know- this makes a perfect single-layer thick cake, in case you don’t want to make layer cakes- and is great in cake molds with those cutesy designs. It’s a versatile vanilla.
Adapted from Nigella Lawson’s yummy recipe…
CAKE:
1 ⅔ cups all-purpose flour
1 ½ teaspoons baking powder
½ teaspoon baking soda
¼ teaspoon salt
¾ cups + 2 tablespoons buttermilk
1 ½ teaspoons vanilla extract
½ cups unsalted butter, at room temperature
¾ cup sugar
3 eggs
BUTTERCREAM FROSTING:
1 cup unsalted butter (2 sticks or 1/2 pound), softened to barely room temperature
3-4 cups confectioners’ sugar, sifted
1/4 teaspoon salt
1 tablespoon vanilla
3 – 4 tablespoons milk or cream
-
Preheat oven to 350˚, and grease 18 cupcake liners or two 9″ cake pans.
-
In a medium bowl, sift flour, baking powder, baking soda and salt together and set aside.
-
Pour buttermilk into a measuring cup and stir in vanilla.
-
In a large bowl, cream butter and sugar together with an electric mixer at medium speed until light and fluffy (about 4 minutes). Reduce the speed and add the eggs one at a time, beating for 30 seconds between additions.
-
Add alternating increments of the flour mixture and the vanilla-buttermilk, blending well after each addition (starting and ending with the flour mixture); this should take up to 5 minutes.
-
Pour batter into greased cupcake liners/pans and bake 18 minutes for cupcakes, or 30 minutes for layer cake pans, until a cake tester comes out clean. Check cupcakes after 15 minutes to make sure you don’t overbake them. Remove from oven and let cool for 20 minutes on rack before unmolding from pans to finish cooling (especially if using a patterned mold).
-
FROSTING: In a large bowl, beat butter for 3 minutes at medium speed. Add 3 cups of sifted confectioners’ sugar and beat on low until combined. Add vanilla, salt, and 2 tablespoons of milk/cream and beat for 3 more minutes at medium speed. Add remaining sugar if you are looking for a stiffer frosting, and add remaining milk/cream if you’d like a thinner frosting. Slather on cooled cupcakes/ layer cakes.
Tips:
- No buttermilk? Happens all the time to me, too. Just stir a tablespoon of vinegar or lemon juice into milk to equal the total amount of buttermilk called for in the recipe. Wait 5 minutes and it’ll clump up like buttermilk. Gross, but good. TOTALLY essential for the recipe- don’t think you can make this cake without it!
- Why spend so much time creaming butter & sugar, and then after adding in each egg? Just because. It’s a baking “science” thing.
- Cupcakes- do they need liners? I say YES, because a) they can look pretty, but b) they bake softer if the little cakey sides don’t touch the edges of the cupcake/muffin tin.
- Want one big mother of a buttermilk cake? Pour the batter into a 9″ pan and bake for 4o minutes… it’ll be a nice, deep, dense cake (instead of a thinner, springier cake in layers).
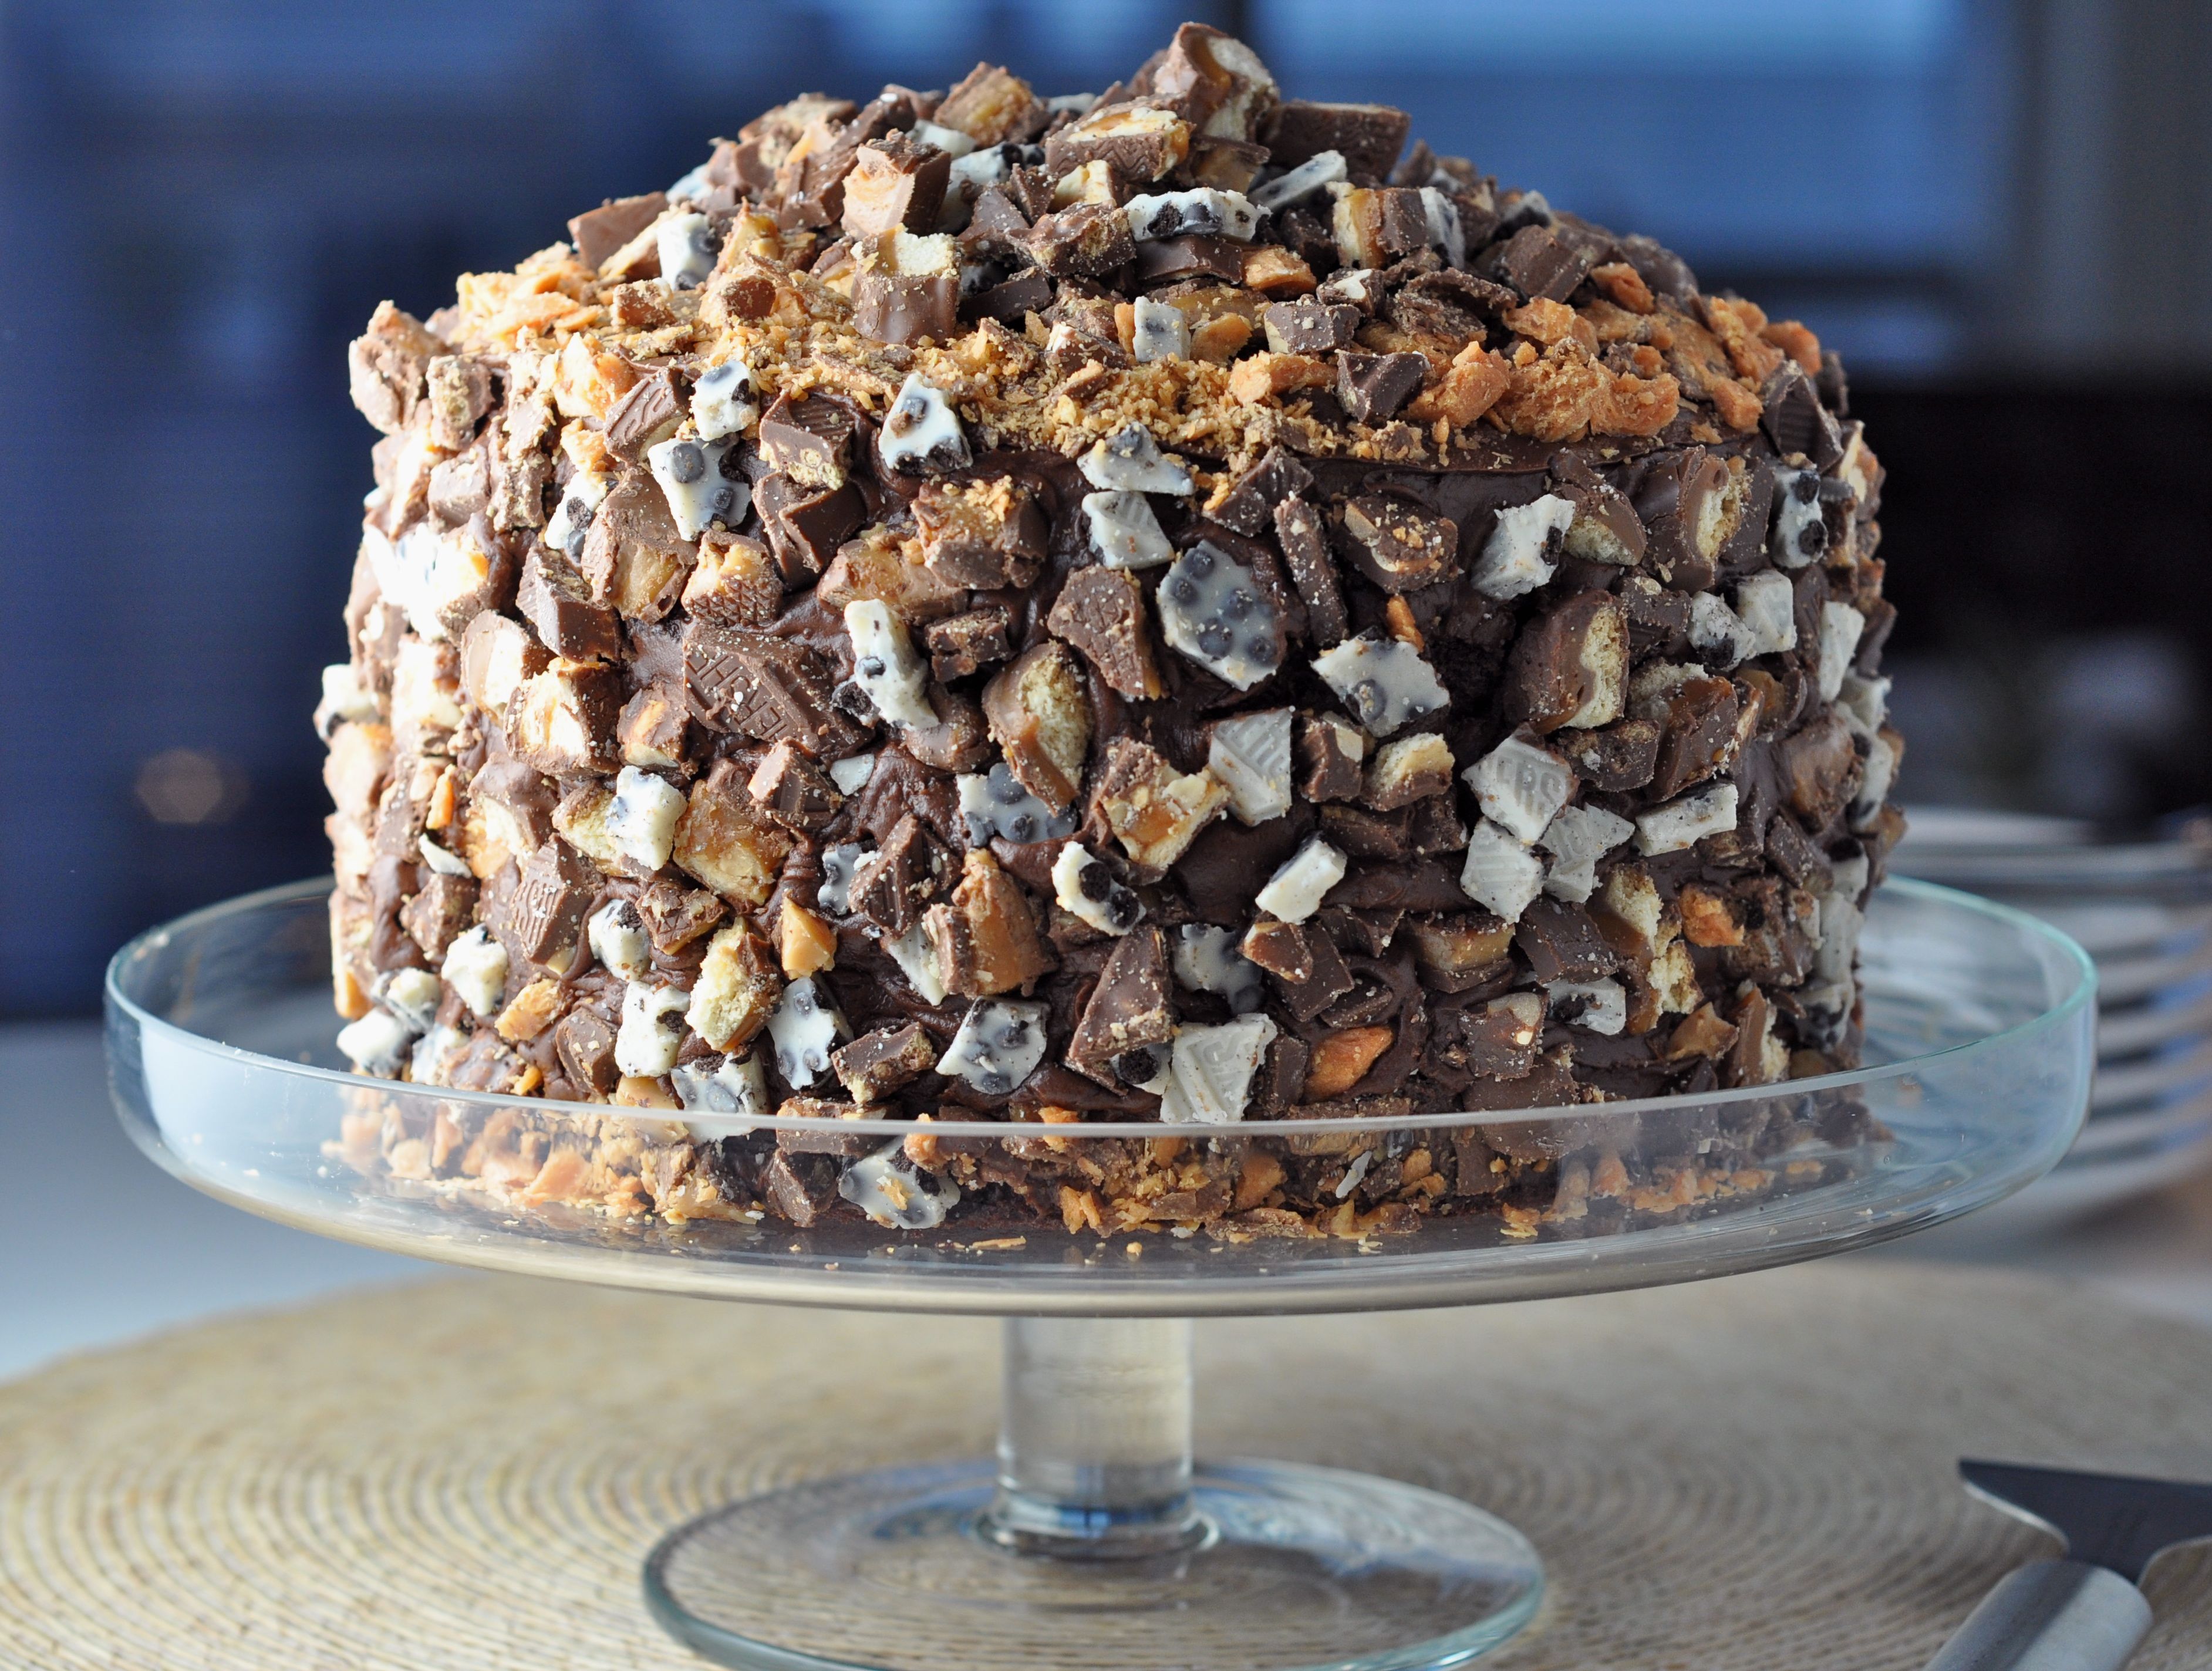
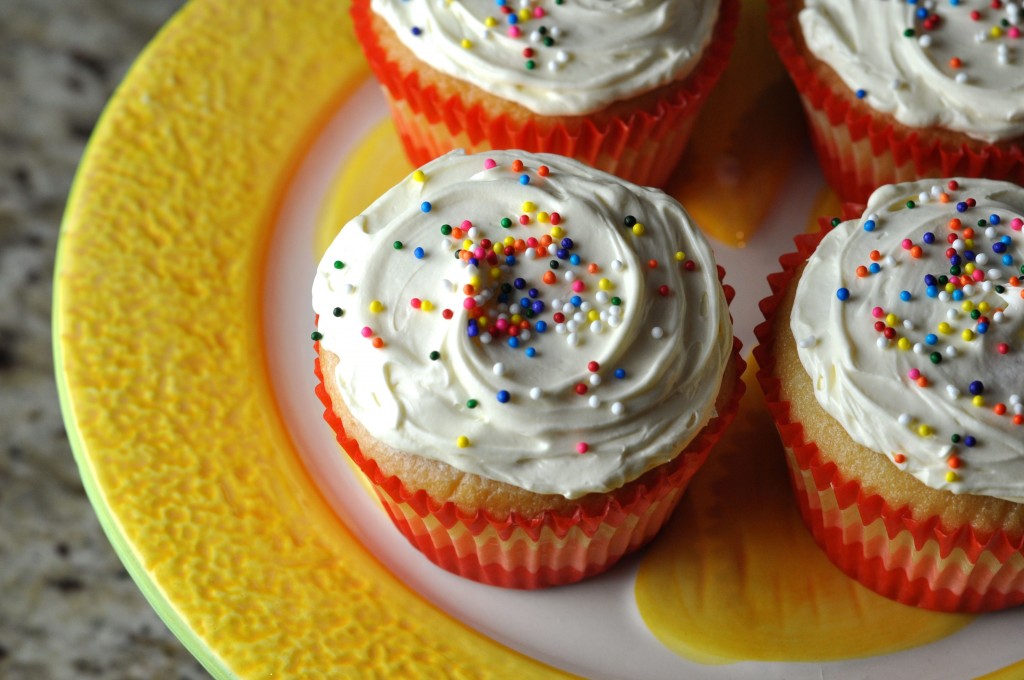
- Icing options are limitless. Really. This picture uses a simple buttercream, but you could slather any chocolate or flavored icing on top.
- Icing note: make sure the butter isn’t melted or too soft when you start to make it… it should be the consistency of ice cream, so not too squishy (like how it can get when on the counter too long).
- E n j o y !
Related Recipes & Posts:
-
