Maple Pecan Bars
-
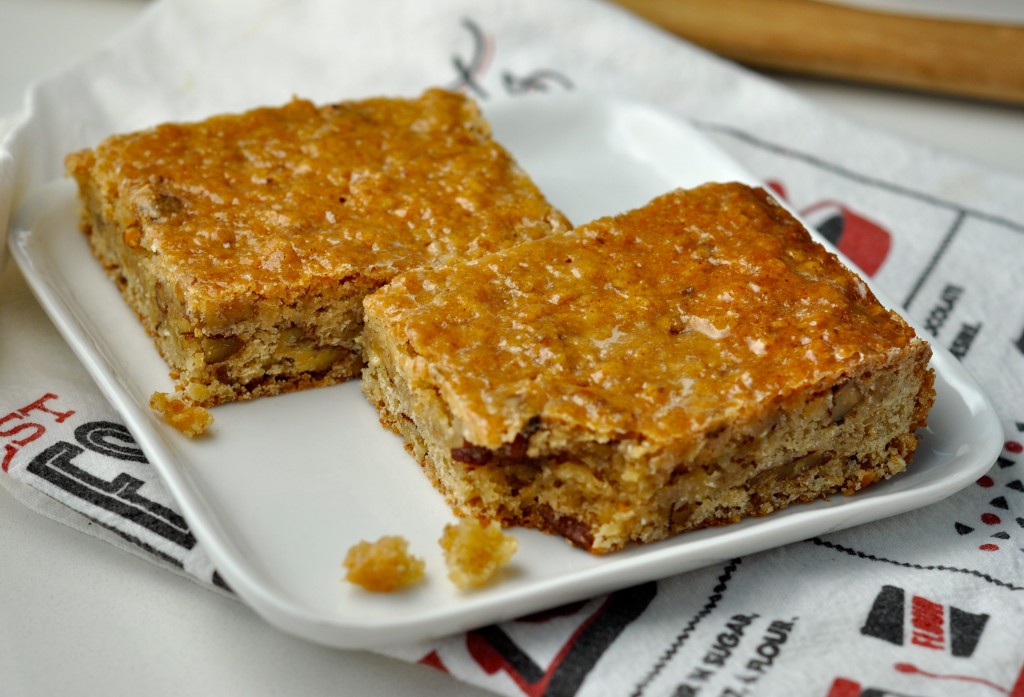
I have a thing for maple syrup.
As a kid growing up in the Great White North, field trips consisted of visiting the depths of freezing cold forests to learn about the riveting process of sap-turned-into-syrup. Boring lessons, but worth standing in the cold for a taste of frozen syrup on slabs of icy snow. Those sap demonstrations ruined me forever… after a taste of the real deal, I knew that the Aunt Jemima bottles my Mom bought to douse the pancakes made from the Aunt Jemima pancake mix so wasn’t the real thing. (Please understand that I had a long-standing love affair with Aunt Jemima and respect her products. My Mom made A.J.’s pancakes and served them to what can only be described as a horribly picky eater [me- stick with the story, reader], so I owe A.J. for a lot of the calories that contributed to my growth and development. And my sweet tooth. And I owe my Mom for making so many freaking pancakes, since I wouldn’t eat anything else.)
Back to present day… maple syrup. The real deal. Expensive, but someone has to get paid for drilling holes into unsuspecting maple trees and traipsing through snow to gather the buckets of liquid gold. This recipe calls for a mere 1/2 cup of the stuff (setting you back only $650 or so), but take it to the next stratosphere by adding the maple glaze over the still-warm bars. Oh, maple. If I wasn’t married I’ve have my sights set on you.
Adapted from Taste of Home’s recipe…
1/2 cup sugar
1/2 cup butter, room temperature
1/2 cup maple syrup
1 egg
1 teaspoon vanilla extract
2/3 cup all-purpose flour
1/2 teaspoon baking powder
1/2 teaspoon salt
1 cup rolled oats
1 cup pecans, toasted & chopped
GLAZE:
3/4 cup confectioners’ sugar
3 tablespoons maple syrup
- Preheat oven to 350° and grease a foil-lined 9” baking pan.
- In a large bowl, cream sugar and butter. Add maple syrup, egg and vanilla and beat until well combined.
- In a medium bowl, combine flour, baking powder and salt; add to creamed mixture and mix until well combined.
- Stir in oats and pecans*. Pour into prepared pan and bake for 30 minutes.
- In a small bowl, stir glaze ingredients together until smooth; pour over top of bars while still hot from oven. Allow to cool on a wire rack.
Tips:
- Use Grade B maple syrup. It tastes more maple-ey and is better to use when baking, for sure. (I only buy Grade B, except when I’m at a regular grocery store and am lucky enough to find real maple syrup as it is, instead of the aforementioned Aunt Jemima. Hey- wouldn’t the Aunt Jemima people make a shitload of money if they came out with a real maple syrup, in addition to their tasty synthetic version?)
- *Toast the pecans before you use them in this recipe. Just spread out on a baking sheet and bake for 6 – 8 minutes, until fragrant and lightly golden. (Not like this.)
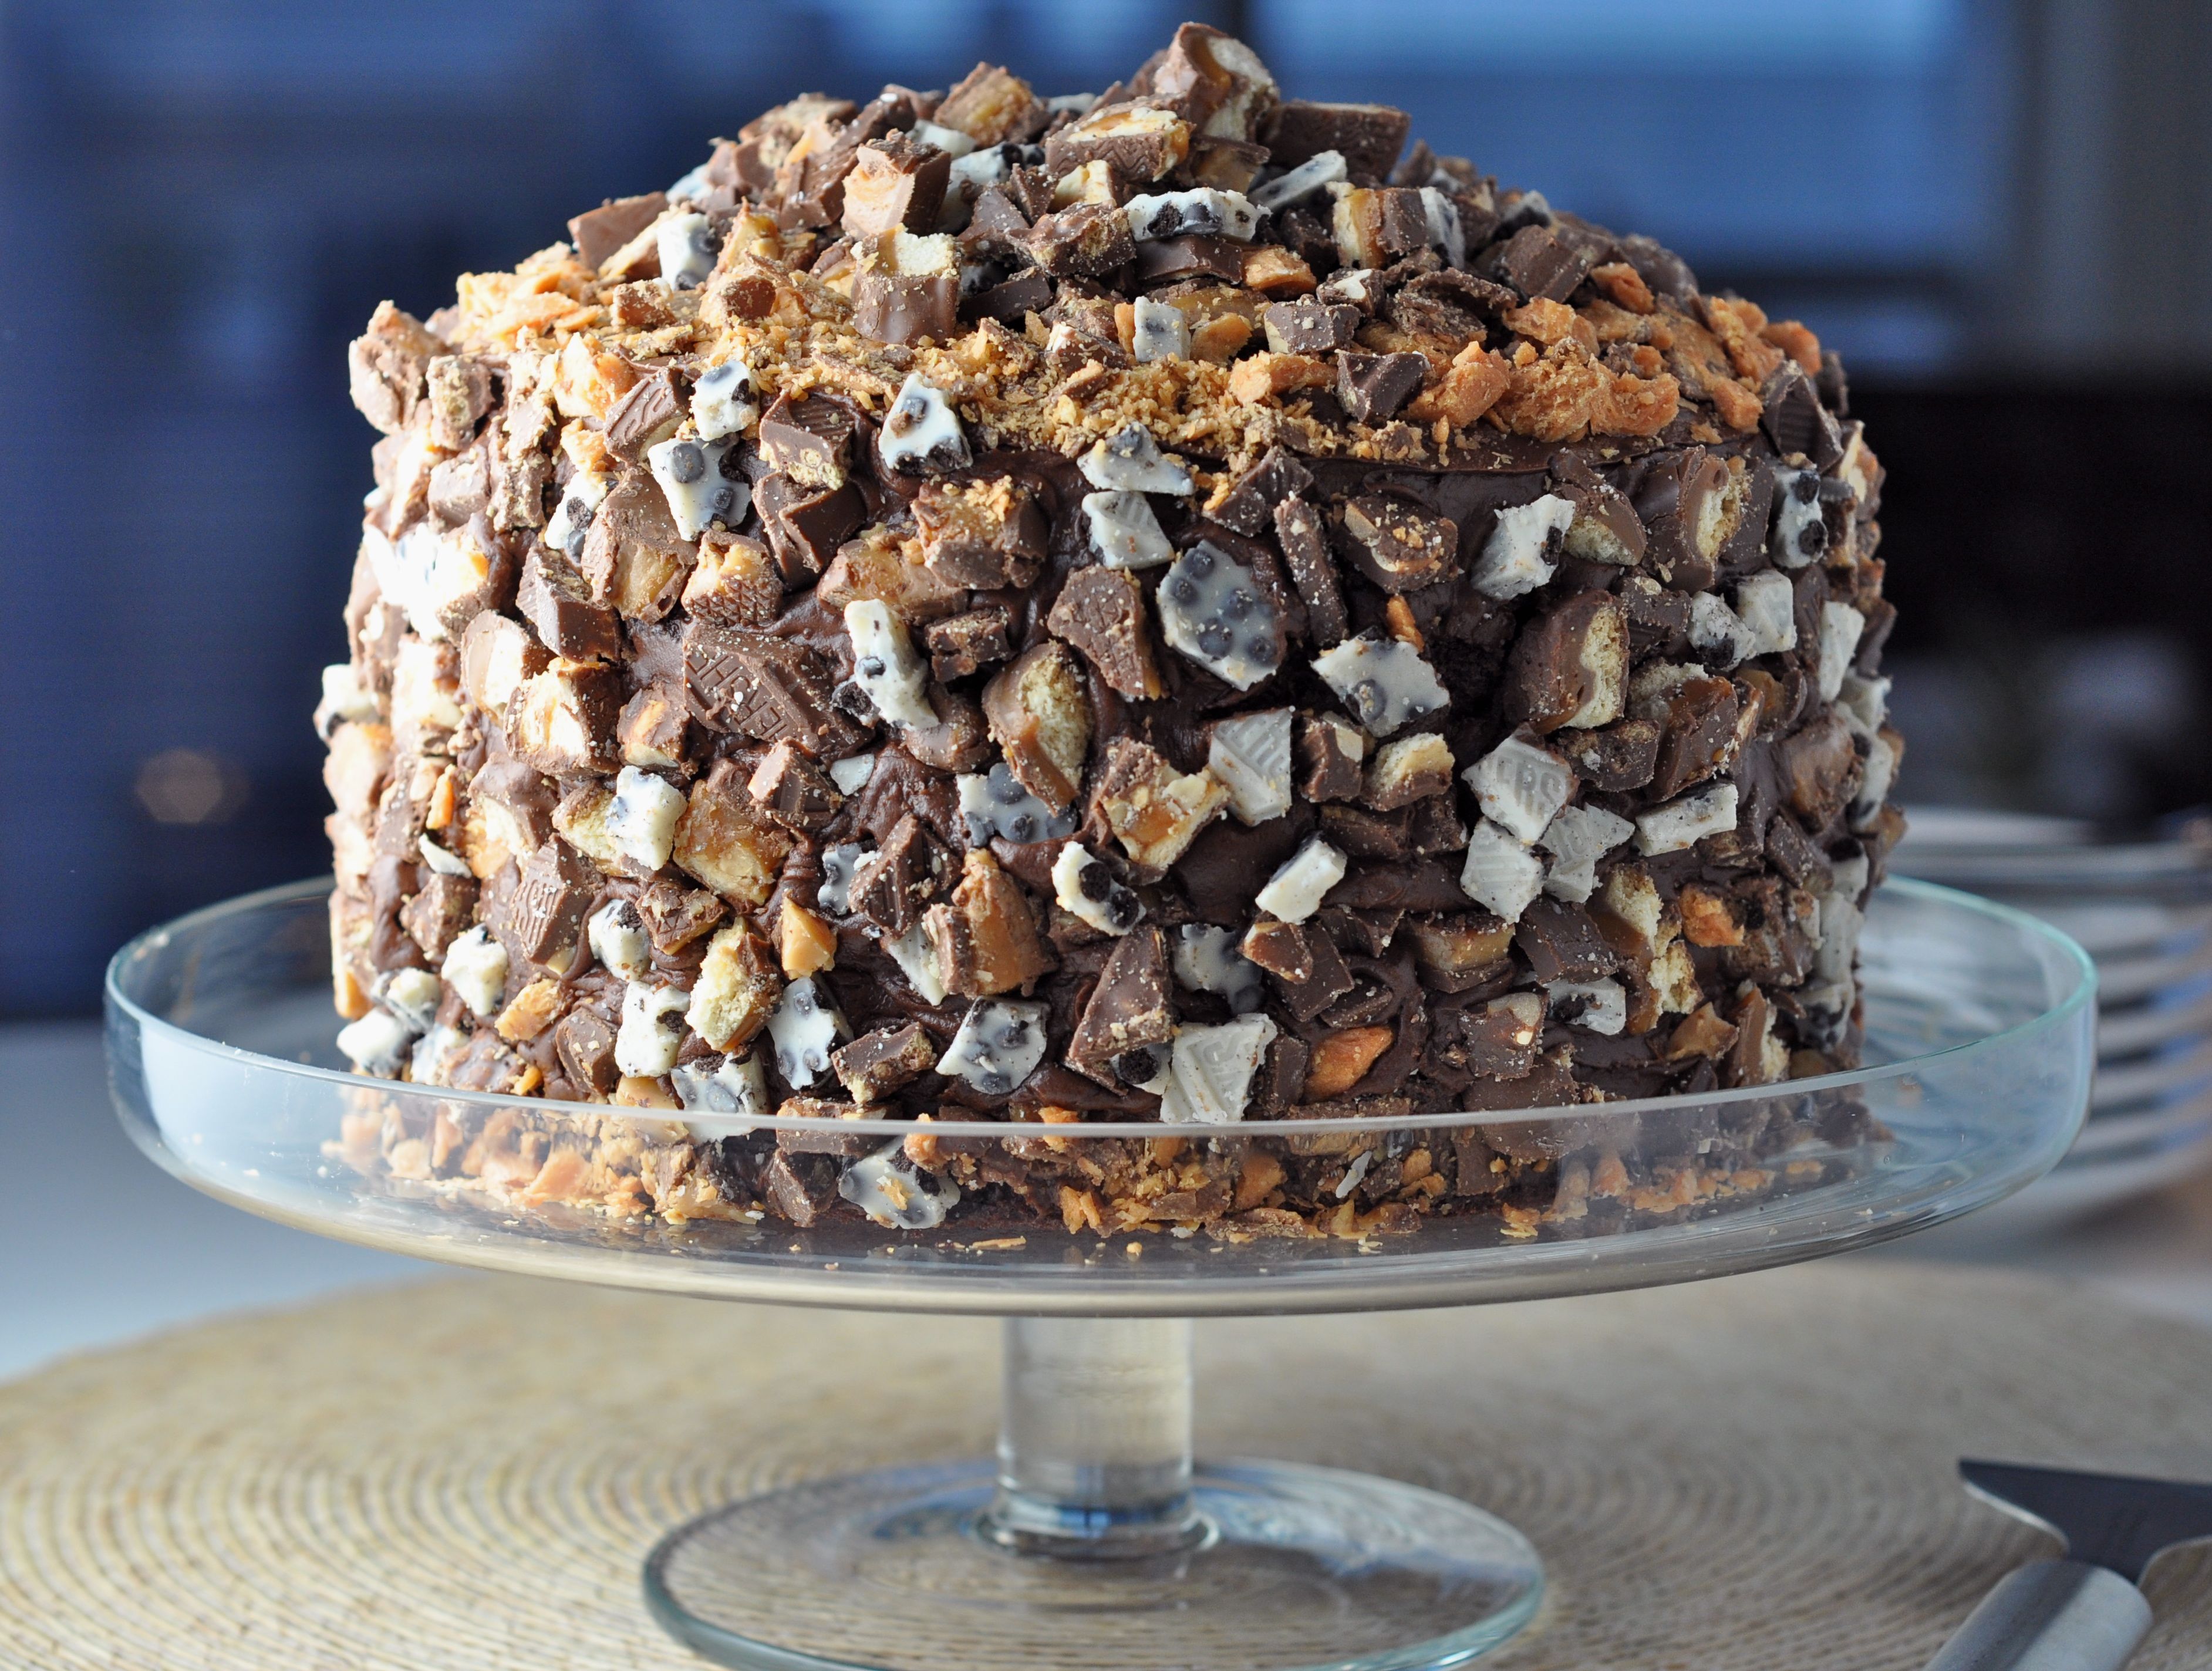
- I guess walnuts could be used instead of pecans, if you prefer. Maple goes with pecan like chocolate goes with caramel (like here!), but walnuts wouldn’t hurt anyone I suppose. Don’t use filberts. No one wants a Maple Filbert Bar.
- The oats can be regular or instant. I think regular is preferred, but I used instant and no one complained after I made these bars.
- Freeze these if you want leftovers for later, for sure… as always, just wrap really well.
- Enjoy!
Related Recipes & Posts:




3 Responses and Counting...
This looks absolutely outstanding! Many thanks for the share, I would love to give it a try!
Ms J,
I made at least a million of these (well maybe 300) for a Convocation I catered at the University of Toronto yesterday and they were THE HIT OF THE PARTY!
Thank you for a fantastic recipe. Not a piece left, but we did make a batch to test with freezing, and you are right, they freeze perfectly.
Thank you!
What fantastic news!! I’m thrilled these turned out for you with your catering gig, Helen. But really- you can’t go wrong when you’re dealing with maple, can you? (OH- I just bought a maple cream liqueur… can’t wait to bake a killer dessert with it. Just you wait!)